

Which Snowboard Binding Type Fits Your Riding?
Quick Summary
The main snowboard binding types are traditional two-strap, rear-entry and step-on systems, and each trades convenience against feel. Two-strap bindings give the most precise control, rear-entry bindings get you in quickly, and step-on bindings lock in fast but need matching boots. Choose the entry style that suits how often you ride the lift, then match flex to your riding.
- Two-strap bindings offer precise feel and wide adjustment but are slower to get in and out of.
- Rear-entry bindings let you slide your boot in from the back for quick entry.
- Step-on bindings have no straps, but they only work with Step On compatible boots.
- Softer flex suits freestyle and park riding, while stiffer flex suits freeride and steeper terrain.
- Check your board's insert pattern and your boot size before buying any binding.
Table of Contents
- Snowboard Binding Types Explained: The Three Entry Systems
- Snowboard Bindings Step In: How Step On Systems Work
- Flex, Response and Matching Bindings to How You Ride
- Snowboard Binding Size Chart and Boot Fit Checks
- Snowboard Binding Compatibility With Your Board and Boots
- Choosing Your Next Binding at Cal Surf
- Frequently Asked Questions
Which Snowboard Binding Type Fits Your Riding?
Last Updated: November 6, 2026
Snowboard bindings look simple until you're standing in the shop with three different systems in front of you. Riders often try to pick between two-strap, rear-entry and step-on bindings, and most of them just want to know which one fits how they ride. This guide walks through the three entry systems, how flex and response change the feel, and how to check fit and compatibility before you buy.
Snowboard Binding Types Explained: The Three Entry Systems
A snowboard binding is the hardware that connects your boot to the board, and the entry system decides how you get in and out. Most bindings fall into three camps: traditional two-strap, rear-entry and step-on. Each one trades a little something for convenience, weight or precision, so the right pick depends on how often you hop on and off the lift and how much board feel you want.
Traditional Two-Strap Bindings
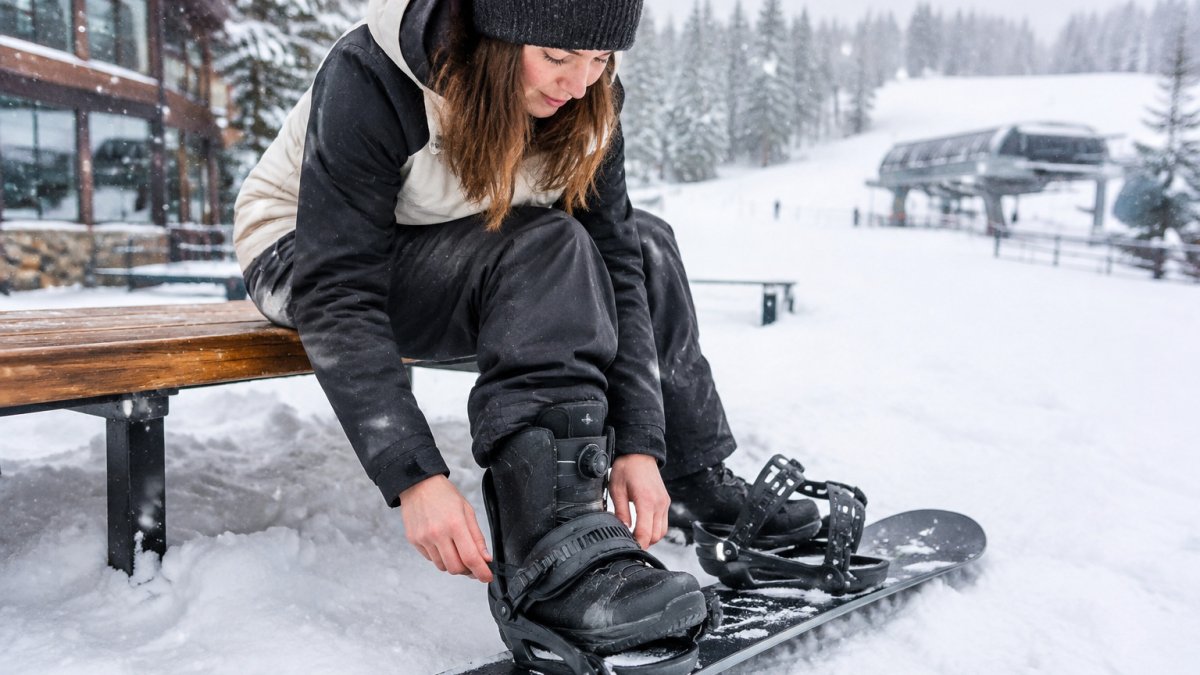
Two-strap bindings are the classic setup. You sit or step into the binding, then tighten the ankle strap and toe strap with ratchet buckles. They give you direct control over how the boot sits on the board, and they are the most common style you'll see on the hill.
The Malavita Binding in Warm Grey is a good example of this style. It's an all-mountain binding rated for advanced riders, with a Re:Flex mounting system and a dial-adjusted FLAD highback. It runs $299.99 at Cal Surf.

- Pros: Precise feel, wide range of adjustment, widely available and easy to fine-tune
- Cons: Slower to get in and out, straps need checking through the day
Rear-Entry Snowboard Bindings
Rear-entry bindings let you slide your boot in from the back of the binding.
- Pros: Quick entry, easy to step in with gloves on
- Cons: Less common, fewer models to choose from
Snowboard Bindings Step In: How Step On Systems Work
Step-on bindings skip the straps altogether. You stand on the binding, lock your boot in , and you're ready to ride. The system is fast and clean, but it only works with boots built for it, so the boot and binding need to match.
The Atlas Step On in black is a strong option if you want this setup. It has a flex rating of 8 on a 1-10 scale, an Atlas Step On Duraflex CB baseplate and a 3D extruded aluminum heelcup. It is $343.99 at Cal Surf. It must be used with Step On boots, so pair it with the Burton or DC Step On boots.

- Pros: Fast entry and exit, no straps to adjust
- Cons: Requires Step On compatible boots, locked into one system
Flex, Response and Matching Bindings to How You Ride
Flex describes how stiff the binding feels when you push on it. A softer binding is more forgiving and playful, while a stiffer one gives you more response and control at speed. Response is how quickly the binding passes your input to the board.
Match the flex to the way you ride. Freestyle riders who spend time in the park often like softer bindings that absorb landings. Freeriders and riders carving steeper terrain usually want stiffer bindings for stability. All-mountain riders often land in the middle.
The Basin Public FASE binding is built for a softer, playful ride with added dampening. The Malavita sits in a medium-to-stiff range and fits riders who want more control on bigger terrain.
Flex and response change how a binding feels, so the table below sums up which setup suits which kind of riding.
Riding style |
Flex suggestion |
Why |
|---|---|---|
Freestyle / park |
Softer |
Absorbs landings and feels playful |
Freeride / steeper terrain |
Stiffer |
Gives stability and control at speed |
All-mountain |
Middle range |
Balances forgiveness and response |
Snowboard Binding Size Chart and Boot Fit Checks
Bindings are sized by boot size, so check the size range before you buy. The Malavita lists its boot size compatibility as S (6-8), M (8-11) and L (10+).
You can run a quick fit check at home. Put your boots on, buckle into the binding, and see whether your heel sits fully in the heelcup with no lift. Check that your toes don't hit the front of the boot and that your toe and heel overhang stays within what your board allows. If the heel lifts or the straps pinch, the size or the binding style may be wrong for your foot. Since a secure heelcup fit depends on how your boots sit, check that your boots leave enough room for your toes and heel before choosing a binding.
For a deeper look at boot fit before you size bindings, read How to Fit a Snowboard Boot.
Snowboard Binding Compatibility With Your Board and Boots
Compatibility comes down to two things: the mounting system on your board and the boot you ride. Most boards use either a 4x4 or 2x4 insert pattern, or a channel system. The Malavita uses a Re:Flex mount that works with channel, 4x4 and 2x4 setups. The Atlas Step On is compatible with 2x4 and channel boards.
Before you assume a binding will bolt on, identify what your board actually has. Pull the binding off and look at the insert holes. A 4x4 pattern is a grid of holes spaced 4 cm apart in both directions, so you see a square of holes under each foot. A 2x4 pattern is two columns of holes spaced 4 cm apart front-to-back and 2 cm apart side-to-side, which gives you fore-aft stance adjustment but less lateral play. A channel board has a single long slot down the center instead of discrete holes.
Watch out: the most common compatibility failure is a disc that fits the binding but not the board's insert pattern, or a channel board paired with a disc that has no channel slot. Check the disc against the board before you mount, and if the disc does not match, you need a different disc or a different binding, not an adapter that shims the gap.
Boot compatibility matters just as much. Step-on bindings only work with Step On boots, so don't mix systems. Two-strap and rear-entry bindings are more flexible, but check that the baseplate and boot fit together before you commit, a boot with a very rounded heel or an unusually tall instep can sit poorly in a binding that otherwise matches its size range. Set the boot in the binding with the straps loose and look for gaps under the arch or pressure points over the instep before you tighten anything.
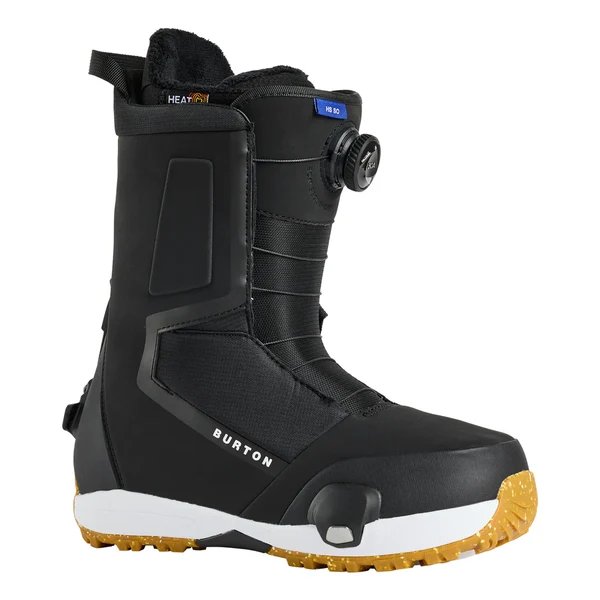
If you're pairing a step-on binding with a boot, the Burton Highshot Step On Black Boots is the matching boot for that system. For a deeper look at boot fit before you size bindings, read How to Fit a Snowboard Boot.
Choosing Your Next Binding at Cal Surf
Pick the entry style that matches how often you get on and off the lift, then choose a flex that fits your riding. Check your boot size, confirm the mounting system on your board, and make sure your boot and binding are compatible. If you're still unsure, the How to Choose Snowboard Gear: 2026 Guide covers the broader buying decisions.
Stop by Cal Surf or browse our snowboard bindings online, and we'll help you match the right setup to your riding.
Frequently Asked Questions
What are the different types of snowboard bindings?
The three main entry styles are traditional two-strap bindings, rear-entry bindings and Step On systems. Two-strap bindings use separate ankle and toe straps you tighten by hand and give the most adjustability. Rear-entry bindings let you slide your boot in from the back. Step On bindings lock onto a boot-specific disc when you step in, which is quick on the lift line. Each style pairs with its own boot type, so choose the entry system first and then match the boot.
Are rear-entry snowboard bindings as responsive as strap-in bindings?
Ride feel depends more on flex, highback design and fit than on the entry method. Try both on your own boots before deciding, and pay attention to heel hold and how the highback responds when you carve.
How do I know what size snowboard bindings I need?
Start with your boot size and check the size chart published by the binding maker, since sizing is set by boot length and sometimes by the mounting system. Many bindings list boot size ranges such as S, M and L, so a boot that falls between sizes may need a closer look at the listed compatibility. Snug the boot into the binding and confirm the toe and heel sit fully on the baseplate without overhang before riding.
Do snowboard bindings work with every snowboard boot?
No. Step On bindings only work with Step On compatible boots, and a Step On binding such as the Union Atlas Step On must be used with Step On boots. Traditional strap-in and many rear-entry bindings work with a wider range of standard boots, but you still need to check the boot size range and the binding's listed compatibility. Confirm the boot system before you buy the binding.
